
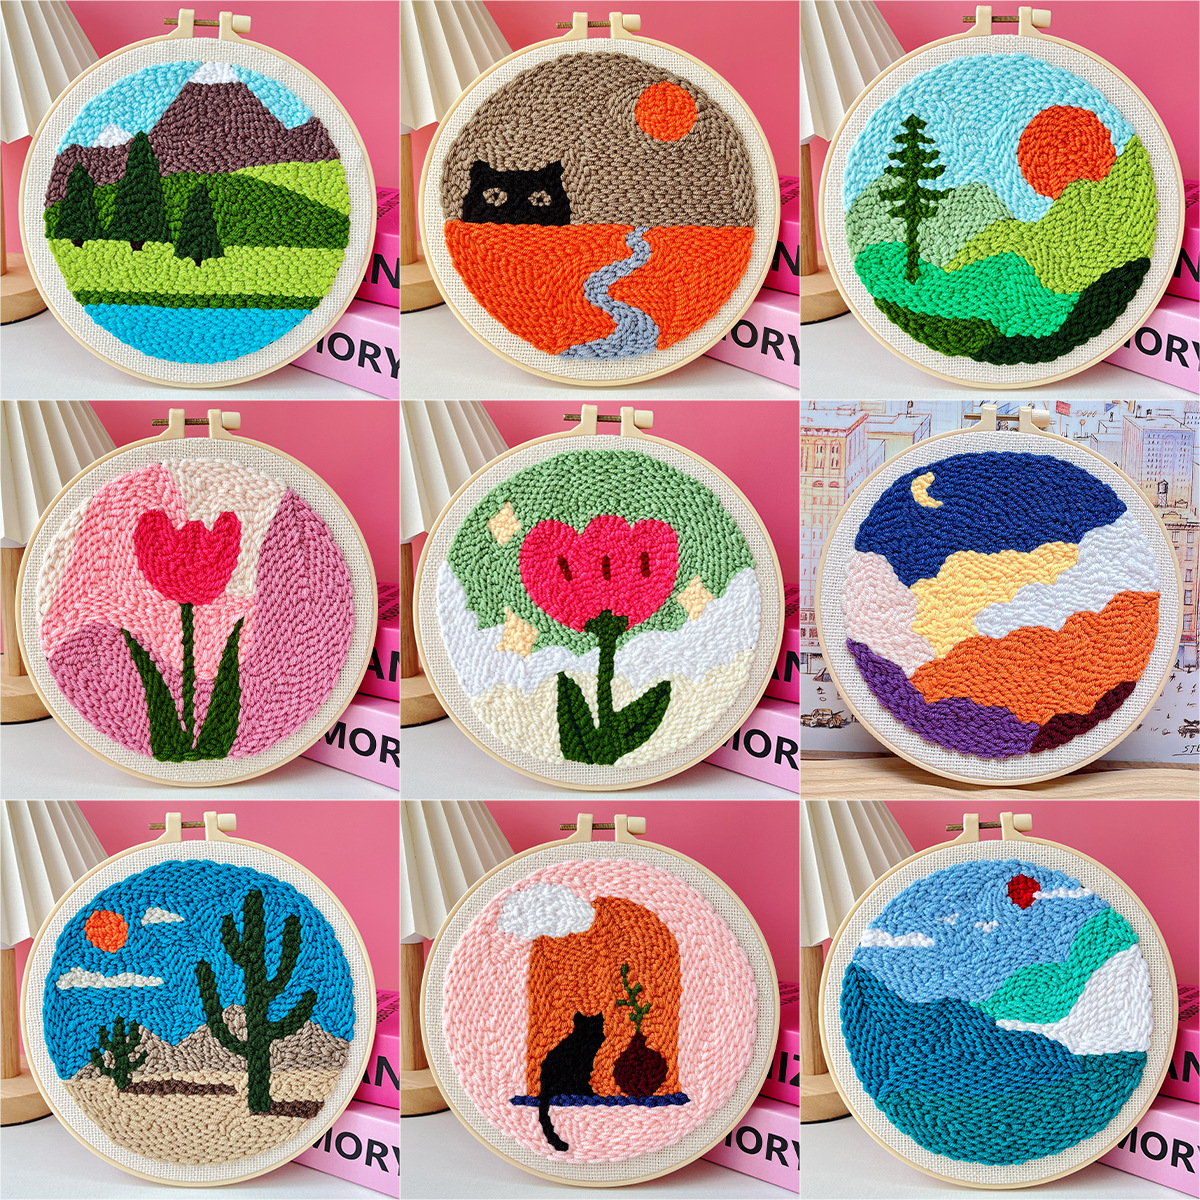
Punch needle is one of the most relaxing fiber crafts you can learn. Instead of pulling a needle back and forth through fabric like embroidery, you push a hollow needle straight down, lift it, move a tiny step and push again. The yarn forms soft, fluffy loops on the other side. Shapes fill up quickly, and the result looks like a small rug or a textured painting.
This guide covers everything a beginner needs: what punch needle is, which tools to get, how to set up, the actual technique, and how to finish your first piece.
What is punch needle?
Punch needle is a technique where yarn is fed through a hollow needle and punched into tightly stretched fabric. Each punch leaves a loop on the far side of the fabric and a small flat stitch on the side facing you.
A few things make it different from regular embroidery:
- You work from the back. The design is drawn on the side you punch into. The loops appear on the other side, which is usually the “front” of the finished piece.
- Both sides can be used. The loop side is soft and fluffy. The flat side looks like neat rows of small stitches. Many makers mix both for texture.
- It’s fast. Filling a shape takes far less time than satin stitch.
- Mistakes are easy to undo. Pull the yarn out, scratch the fabric gently with a fingernail to close the holes, and punch again.
What you need for punch needle
A punch needle
There are two main kinds:
- Rug punch needles are larger and use thicker yarn. They make big, plush loops and work up quickly.
- Fine punch needles are small and use embroidery floss or thin yarn. They make tiny, detailed loops.
For a first project, a medium needle used with yarn is the most forgiving. It’s easy to see what you’re doing, and small wobbles don’t show.
Fabric
Punch needle needs a fabric with an open, even weave so the needle can pass through without tearing the threads, and tight enough to grip the loops. Monk’s cloth is common for rug punch work, and weaver’s cloth is often used for fine punch needle. Kits come with the right fabric already printed, which removes a lot of guesswork.
A hoop or frame that grips well
This is the most important tool after the needle. The fabric must be drum-tight the whole time you punch. If it loosens, loops pull out and stitches become uneven.
- A sturdy wooden hoop with a good screw works well for small projects. Re-tighten it often.
- Gripper strip frames hold the fabric very firmly and are popular for larger pieces.
Check what your kit includes. For example, our retro sunset punch needle kit comes with the punch pen, yarn, printed cloth and a hoop. If a kit or pattern you buy elsewhere has no hoop, our beechwood hoop comes in sizes up to 8 inches.
Yarn
The yarn must flow freely through the needle. If it’s too thick, it jams; if it’s too thin, loops won’t stay in. Match yarn to your needle size. Kits include yarn that fits the needle.
Small extras
- A threader (usually a long, thin wire loop)
- Small scissors
- Optional: fabric glue for finishing, and felt for backing
How to set up
Stretch your fabric tight
Put the fabric in the hoop with the printed design facing up. That’s the side you’ll punch into. Pull the fabric evenly all around until it’s very tight, then tighten the screw. It should be tighter than you’d use for regular embroidery. Tap it: it should sound like a drum.
Thread the punch needle
Threading looks confusing the first time, but it’s quick once you’ve done it:
- Push the threader through the needle’s tip and out the top of the handle.
- Put the yarn through the threader’s loop.
- Pull the threader back out through the tip. The yarn now runs through the handle and out of the needle’s tip.
- Now thread the yarn through the small eye near the tip, following your needle’s instructions. On most needles the yarn goes through the eye from the open side (the slot) so the yarn sits in the groove.
- Leave a tail of about an inch sticking out of the eye.
Make sure the yarn can move freely from the ball. If it’s pulled tight or caught, your loops will pull out.
The punch needle technique, step by step
- Hold the needle like a pencil, fairly upright. Keep the open side of the needle (the slot) facing the direction you’re moving. This is the most important habit in punch needle.
- Punch straight down until the handle touches the fabric. Going all the way down is what makes consistent loop heights.
- Lift the needle just to the surface. Don’t pull it up high above the fabric, or you’ll pull the loop back out. The tip should barely leave the fabric.
- Drag the tip a small step forward along the surface, then punch down again. Keep steps small and even, roughly the width of the needle’s tip or a little more.
- Repeat, moving along your line.
- When you change direction, turn the hoop or turn the needle so the slot still faces the direction you’re moving.
After a few inches, turn the hoop over and look at your loops. They should be even and standing up. If some are short or missing, you may be lifting the needle too high or the fabric may be too loose.
Outline first, then fill
A clean approach for beginners:
- Punch along the outline of a shape.
- Fill the inside in rows, following the shape’s curve, or in a spiral from the edge inward.
- Leave a small gap between rows, roughly one or two fabric threads. Rows that are too close crowd the fabric and can make it buckle; rows too far apart leave bare spots.
Starting and ending a color
- Start by punching your first stitch with the yarn tail left on the punching side.
- End by punching your last stitch, holding the loop, and snipping the yarn close to the fabric on the punching side.
- Tidy up by pushing any tails through to the loop side and trimming them to the same height as the loops, so they disappear.
Common punch needle problems
- Loops pulling out: the fabric is too loose, the needle is lifted too high, or the yarn is caught and can’t flow. Tighten the hoop, keep the tip close to the fabric, and check your yarn.
- Uneven loop heights: you’re not punching all the way down every time. Push until the handle touches.
- Fabric buckling: rows are too close together. Leave a little space.
- Holes or thin spots: stitches or rows too far apart. Punch a few extra stitches to fill.
- Yarn keeps unthreading: the tail left at the tip is too short, or the yarn is pulling tight. Leave a longer tail and let the yarn feed loosely.
Finishing your punch needle piece
Once everything is filled, you have a few options:
- Keep it in the hoop. Trim the extra fabric to about 1.5 inches around the hoop, fold it to the back, and glue or stitch it down. Add a felt circle over the back for a neat finish.
- Secure the back. Some makers brush a thin layer of fabric glue over the back of the stitches to lock them in, especially for pieces that will be handled, like pillows or coasters.
- Turn it into something useful: a small pillow cover, a coaster, a pouch or a patch on a tote bag.
Your first punch needle project
Choose a small design with big, simple shapes and just a few colors. Landscapes, clouds, simple animals and bold flowers are perfect. You’ll finish quickly, and you’ll learn how the loops fill a shape.
If you want an all-in-one start, our punch needle kits include printed cloth, yarn, a punch pen and a hoop, so you can start the day the box arrives.
FAQ
Is punch needle easier than embroidery?
For many beginners, yes. There are fewer stitches to learn, it fills shapes quickly, and mistakes are easy to pull out. Embroidery gives more control over fine details and lines.
Which side of the fabric do I punch from?
You punch into the side with the drawn or printed design. The loops form on the opposite side, which is usually shown as the front of the finished piece.
Why are my loops pulling out?
Usually the fabric has loosened, the needle is being lifted too far above the fabric between punches, or the yarn is caught and can’t feed freely. Re-tighten the hoop and keep the needle tip close to the surface.
Can I use a regular embroidery hoop for punch needle?
Yes, for small projects, as long as it holds the fabric very tight. You’ll likely need to re-tighten it as you go. Gripper frames hold better for larger pieces.
What fabric works for punch needle?
A fabric with an even, open weave, such as monk’s cloth for rug punch work or weaver’s cloth for fine punch needle. Regular quilting cotton is usually too tightly woven for a yarn punch needle.
How do I fix a mistake?
Pull the yarn out gently, then rub or scratch the fabric lightly to close the holes. You can then punch over the same area again.