
This guide shows how to finish embroidery hoop projects in about 20 minutes: leave the stitching in the hoop, trim the extra fabric, gather the edges behind it, cover the back with felt and add a hanger. You need only a needle, thread and a scrap of felt. If you would rather not keep the hoop, you can frame the piece instead. This guide covers both.
Before you start, make sure the stitching is finished, the thread ends are secured on the back and any pattern lines are gone. Follow your kit’s instructions for removing a printed design, because the right method depends on how the design was marked. For example, the print on our Aurora and Starry Night kit is water-soluble, so any lines left showing rinse out.
Which finish should you choose?
| Finish | Best for | Effort |
|---|---|---|
| Gathered back with felt cover | Hanging the piece right in the hoop; the most popular choice | Low |
| Glued back | Small hoops and a quick, flat finish | Very low |
| Framed | Pieces you want behind a mat, or a hoop you need for the next project | Medium |
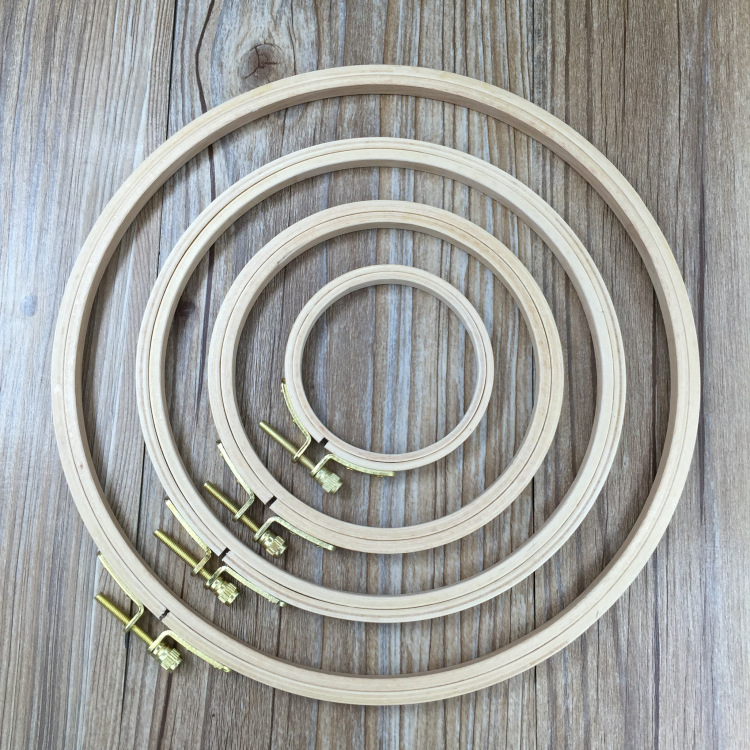
A smooth hoop that holds fabric drum-tight also makes a neat frame for the finished piece, and the Beechwood Embroidery Hoop is made for exactly that. If you need a refresher on setting fabric in the hoop in the first place, see our guide to using an embroidery hoop.
What you need
- Sharp scissors, such as Stork embroidery scissors for small trims
- A sewing needle and strong thread (regular sewing thread works)
- A piece of felt or sturdy fabric for the back
- Ribbon or twine for hanging
- Fabric glue or craft glue (optional)
How to finish an embroidery hoop with a gathered back
- Check the front. Tighten the screw so the fabric is drum-tight, and make sure the design is centered and the fabric grain is straight.
- Trim the extra fabric, leaving about 1 to 1.5 inches (2.5 to 4 cm) beyond the edge of the hoop all the way around. A rough circle is fine, because the edge will be hidden.
- Thread a needle with a long piece of strong thread and knot the end. Sew a large running stitch around the fabric, about half an inch (1 cm) in from the cut edge. Leave tails at the start and end.
- Pull the thread to gather the fabric into the back of the hoop. Spread the folds evenly so the fabric lies flat against the inner ring.
- Tie off the thread securely. Then take a few long stitches across the back, from one side of the gathers to the other, to hold everything in place.
- Cut a circle of felt slightly smaller than the hoop. Sew it to the gathered edge with small whipstitches, or glue it down with a thin line of glue.
- Add a hanger (see below). Let any glue dry fully before you hang the piece.
A quicker way: the glued back
If you want a flatter finish, trim the fabric to about 1 inch beyond the hoop. Fold the edge over the back of the inner ring and glue it down, using small amounts so the glue does not seep through to the front.
Press it in place, let it dry, then cover the back with a felt circle. This works best on lightweight fabric and smaller hoops. Fabric glue is gentler and easier to control than hot glue, which can soak through thin fabric.
How to hang an embroidery hoop
- Turn the hoop so the tightening screw is at the top. This gives you a natural place to attach a hanger.
- Loop a length of ribbon or twine around the screw or the top of the outer ring. Tie a firm knot and trim the ends.
- Hang the loop on a small nail or hook. Embroidery in a hoop is light, so a small hook is usually enough.
- Step back and straighten the hoop until the design sits level.
If you like hoops on the wall, arrange a few before you pick a spot. Our cozy storefront kit is described as a small scene you can hang right in the hoop when you are done.
How to frame embroidery instead
Framing suits pieces you want to keep clean and flat. It also frees your hoop for the next design.
- Remove the piece from the hoop and, if needed, press it face down on a folded towel. Follow your kit’s instructions for removing any pattern marks first.
- Cut a piece of acid-free board or foam board to fit your frame opening.
- Center the embroidery over the board. Fold the edges to the back and pull them tight.
- Lace across the back with strong thread, working from side to side and then top to bottom, until the fabric is smooth. Acid-free tape is an alternative.
- Place the board in the frame. If you use glass, add a mat or spacer so the glass does not press on the stitches.
Measure your finished design before buying a frame. The kits in our beginner embroidery kits range come with 6-inch or 8-inch hoops, so your design will be about that size.
Common mistakes to avoid
- Trimming too close to the hoop, so the fabric slips out.
- Leaving long thread tails on the back, which can show through light fabric.
- Using too much glue, which can seep through to the front.
- Letting the fabric go slack before you gather it.
FAQ
Do I have to take embroidery out of the hoop?
No. Many people keep the piece in the hoop as its own frame. Take it out if you want to store it long term, since fabric can crease where the ring pressed.
How much fabric should I leave around the hoop?
About 1 to 1.5 inches (2.5 to 4 cm) beyond the hoop edge is enough for gathering. Leave more if you plan to use a large hoop.
What do I use to cover the back?
Felt is the usual choice because it does not fray. A circle of sturdy cotton fabric also works.
Should I wash the piece before finishing it?
Only if it needs it, for example to remove marks. Check your kit’s instructions first, and test on a scrap. Our transfer guide explains the common marking types.
New to the hobby? Start with our how to embroider guide. Then see how long an embroidery kit takes to plan your next project.