
Here is how to start embroidery without a knot: use a waste knot, an away knot, a loop start or weave the tail under existing stitches. Each one anchors the thread from the front or back so the back of your work stays flat. To end, run the thread under a few stitches on the back and trim it close.
Knots can pop through the fabric, show through light cloth and leave bumps under a finished hoop. This guide gives four knotless ways to start, and how to end thread neatly.
Why avoid knots?
A knot on the back is fine for a quick project, but it has drawbacks. It can pull through loose weaves, show as a bump through thin fabric, and catch on other threads as you stitch.
Knotless starts keep the back tidy. They matter most on light fabric and on pieces you plan to frame. Many people still use small knots for practice pieces, and that is perfectly fine.
Method 1: Waste knot
A waste knot is a temporary knot on the front. It holds the thread while you stitch over the tail on the back, and then you cut it off.
- Tie a knot in the end of the thread.
- Push the needle down from the front about 2 to 3 inches away from where you will start, along the line you plan to stitch. The knot stays on the front.
- Bring the needle up at the starting point and begin stitching toward the knot.
- Check that the tail on the back is caught under your stitches. Work until the tail is secured, usually an inch or more.
- Snip the knot off on the front. The tail is now held in place on the back. Pull it gently to check it is secure, then trim it if needed.
Waste knots work well for back stitch and other lines, where you stitch over the path of the tail.
Method 2: Away knot
An away knot is the same idea, used when you are filling an area rather than following a line.
- Tie a knot at the end of the thread.
- Enter from the front about an inch away from the shape, in an area that will be covered or out of the way.
- Bring the needle up at your first stitch and stitch as normal.
- When the tail on the back is caught under several stitches, cut the knot off on the front.
Do not put the knot in a spot that will stay visible. If you cannot cover it, use a different method.
Method 3: Loop start
The loop start uses an even number of strands. It needs no knot and leaves only a small loop on the back.
- Cut one strand about twice the length you need. Fold it in half.
- Thread the two cut ends through the needle. The folded loop now hangs at the tail.
- Bring the needle up from the back at your starting point, leaving the loop on the back.
- Take your first stitch and go down on the back side.
- Slip the needle through the loop on the back. Pull the thread snug to lock the loop against the fabric.
For 2 strands, fold one strand. For 4 strands, fold 2. For 6, fold 3. The loop start does not work with an odd number of strands.
Method 4: Weaving under
If you have stitching already on the fabric, weave the tail under it.
- Bring the needle up at the start of the new area, leaving a tail about an inch or two on the back.
- Stitch a few stitches, then turn the hoop over.
- Thread the tail through the needle, then slide it under three or four stitches on the back, without piercing the fabric.
- Pull it snug and trim the end close.
This method suits work with lots of stitches nearby, such as fills. It is not ideal for the very first stitches on a bare piece.
How to end thread without knots
- Turn the hoop over when you have about 3 inches of thread left.
- Slide the needle under three or four stitches on the back, weaving in and out of the threads.
- Pull the thread through, then make a small loop or run back under the same stitches in the opposite direction for extra grip.
- Trim the tail close to the stitches.
Weave under stitches of the same color where you can. Carrying dark thread under light stitches can show through on thin fabric.
Which method should you choose?
| Method | Best for | Watch for |
|---|---|---|
| Waste knot | Lines, outlines, lettering | Remember to cut the knot off |
| Away knot | Filling areas | Place it where it will be covered |
| Loop start | Even strand counts, quick starts | Needs 2, 4 or 6 strands |
| Weaving under | Adding to an area already stitched | Needs stitches already in place |
Common mistakes and fixes
The thread pulls out
The tail was not caught under enough stitches. Secure at least an inch, and give the thread a light tug before you trim.
Threads show through the fabric
Long jumps between areas can show as shadows on light fabric. Weave under nearby stitches instead of jumping, and trim tails short.
The back is bumpy
Too many tails woven in one spot cause lumps. Spread them out and use fewer strands where possible.
Forgetting to cut the waste knot
If the knot is still on the front once the tail is secure, snip it off. If you have stitched over it, unpick carefully with small scissors.
See the embroidery floss guide for tips on strand counts and thread length. Longer thread tangles more, so most people cut about 18 inches. The embroidery needle sizes guide helps you pick a needle that carries the thread cleanly. For the basics, read how to embroider.
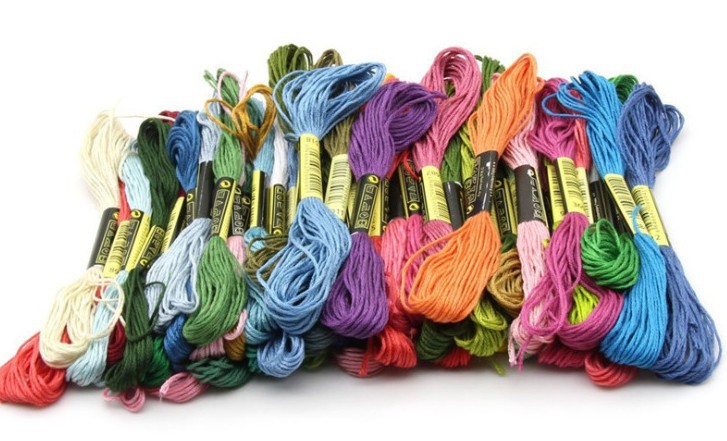
These starts and finishes suit any project. If you want a set of fabrics to try them on, see our beginner embroidery kits or stock up on a floss set. A sharp pair of embroidery scissors makes trimming close to the fabric easier.
FAQ
Can I start embroidery without a knot?
Yes. Use a waste knot, away knot, loop start or weave the tail under stitches. All keep the back tidy.
Will my stitches come undone without a knot?
Not if the tail is secured under several stitches. Give it a gentle tug to test before trimming.
How do I end thread on the back?
Weave the needle under three or four stitches on the back, then trim the tail close.
Is it wrong to use a knot?
No. Knots are quick and fine for practice or for pieces that will not be framed. Knotless starts just give a flatter back.