
Here is how to do a French knot: bring the needle up, wrap the floss around it once or twice, then push the needle back down right next to where it came up while holding the thread taut. Pull the wraps snug against the fabric and let the floss slide through. The result is a small, raised dot that works for flower centers, eyes, seeds and texture.
Most trouble comes from tension: too loose and the knot is floppy, too tight and it will not form. This guide covers the exact steps, how many strands to use, and how to fix the three most common French knot problems.
What is a French knot used for?
A French knot sits on top of the fabric like a tiny bead of thread. Stitchers use it for flower centers, clusters of berries, lavender buds, animal eyes, freckles and the dotted texture of a night sky.
It also appears in many beginner projects. In our shop, the Wildflower Line-Art Embroidery Kit for Beginners lists French knots among its stitches, and the Mountain & Wildflowers Embroidery Kit for Beginners uses them for the meadow flowers.
What you need
- Fabric held drum-tight in a hoop (see how to use an embroidery hoop if yours slips)
- Embroidery floss, usually 2 or 3 strands of the six-strand thread
- A sharp embroidery needle with an eye that fits your strand count (see embroidery needle sizes)
- Small, sharp scissors
A tight hoop matters more for French knots than for most stitches. Loose fabric lets the knot slide through the weave or pucker around it.
How to do a French knot step by step
- Thread the needle with 2 or 3 strands of floss. Tie a knot in the end, or start with a waste knot if you prefer a clean back.
- Bring the needle up from the back of the fabric at the spot where you want the knot. Pull the floss all the way through.
- Hold the floss taut with your non-stitching hand, about an inch from the fabric. Keep it pulled firm for the whole knot.
- Place the needle close to the fabric, pointing at the thread. Wrap the floss around the needle once for a small knot or twice for a bigger one.
- Keep the wraps snug against the needle. Do not let them spiral loosely or overlap in a messy pile.
- Turn the needle so its point is next to the spot where the thread came up. Do not go back into the exact same hole, because the knot can pull straight through to the back. Go in one or two fabric threads away.
- Slide the wraps down the needle until they touch the fabric. Keep the thread taut with your other hand.
- Push the needle through the fabric to the back, still holding the floss taut. Pull the needle and thread through slowly until the knot sits on the surface.
- Once the knot has formed, release your grip and pull the remaining floss through to the back. Move on to the next knot or fasten off.
How many strands and how many wraps?
For standard six-strand floss, 2 strands make a neat, small knot and 3 strands make a rounder, bolder one. One wrap gives a small, tidy dot. Two wraps give a larger knot that stands taller.
Avoid wrapping three or more times. The extra wraps get hard to control and the knot often collapses. If you want a bigger dot, add a strand instead of another wrap.
| Look you want | Strands | Wraps |
|---|---|---|
| Tiny dots, eyes, fine texture | 1 or 2 | 1 |
| Standard flower centers | 2 or 3 | 1 or 2 |
| Bold, raised dots | 3 | 2 |
The embroidery floss guide explains how to separate strands cleanly, which helps knots sit evenly.
Common French knot mistakes and fixes
The knot pulls through to the back
This usually means you went into the same hole you came up from, or the fabric is loose. Enter one or two threads away from the exit point instead, and re-tighten the hoop. A needle that is much thinner than your floss can also leave a hole the knot slips through, so match needle to strand count.
The knot is loose and floppy
You released the tension before the needle was pulled through, or the wraps were not snug. Keep the floss taut until the very end, and slide the wraps right down to the fabric before you push the needle in.
The knot will not form or comes out as a tangle
Too many wraps, or wraps that crossed over each other, cause this. Go back to one or two wraps laid side by side. Pull gently and steadily instead of yanking.
The knots look uneven in size
Uneven tension gives uneven knots. Use the same strand count and wrap count for the whole area, and hold the floss at the same distance from the fabric each time. Consistency matters more than speed.
Practice before you stitch your project
Draw a few dots on scrap fabric and make a row of ten knots. By the fifth or sixth one, most people find a rhythm. Then try clusters, which is how flower centers are usually stitched.
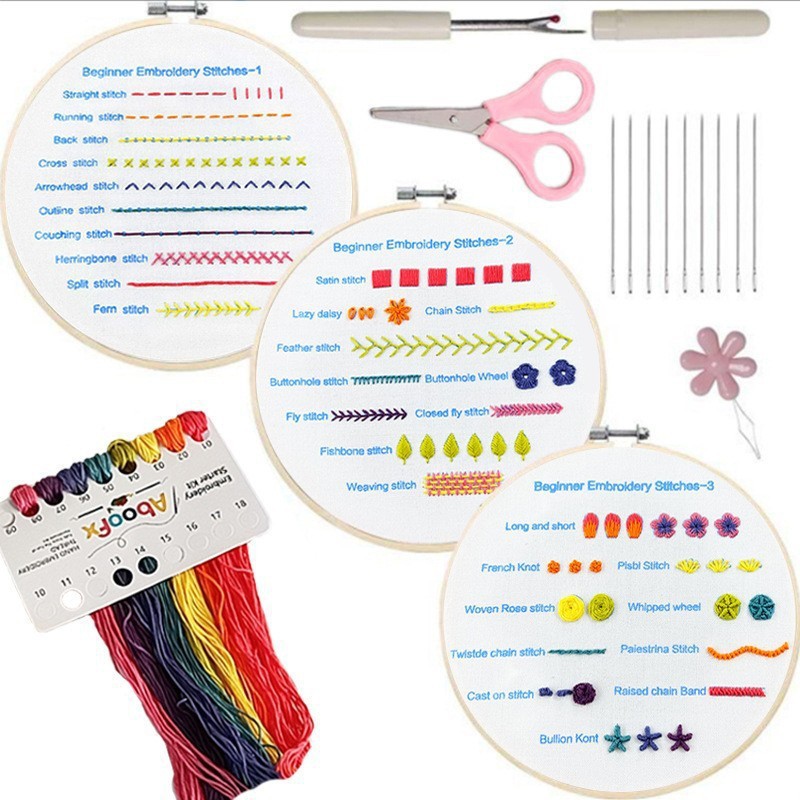
A practice sheet helps too. The Stitch Sampler Embroidery Kit has the stitch name printed next to each row, so you can work through French knots and other stitches in order. Browse all stitch sampler kits if you would like a full set of practice fabrics.
Once you can do knots, learn the smooth fill stitch that often sits beside them in flower designs: satin stitch. That guide comes next in this series. For a broader overview, see our list of embroidery stitches for beginners.
FAQ
Can I do a French knot with one strand?
Yes. One strand gives a very small dot, good for eyes and fine detail. It is harder to keep neat, so use a snug wrap and a taut thread.
Why does my French knot disappear to the back?
The needle probably entered the same hole it came out of, or the fabric is loose. Enter one or two threads away and keep the fabric drum-tight.
What is the difference between a French knot and a colonial knot?
A colonial knot wraps the floss in a figure eight around the needle and sits a bit taller and rounder. A French knot is a simple wrap, and it is the one most beginner patterns ask for.
Do I need a special needle?
No. A regular sharp embroidery needle works. Choose one whose eye matches your strand count.