
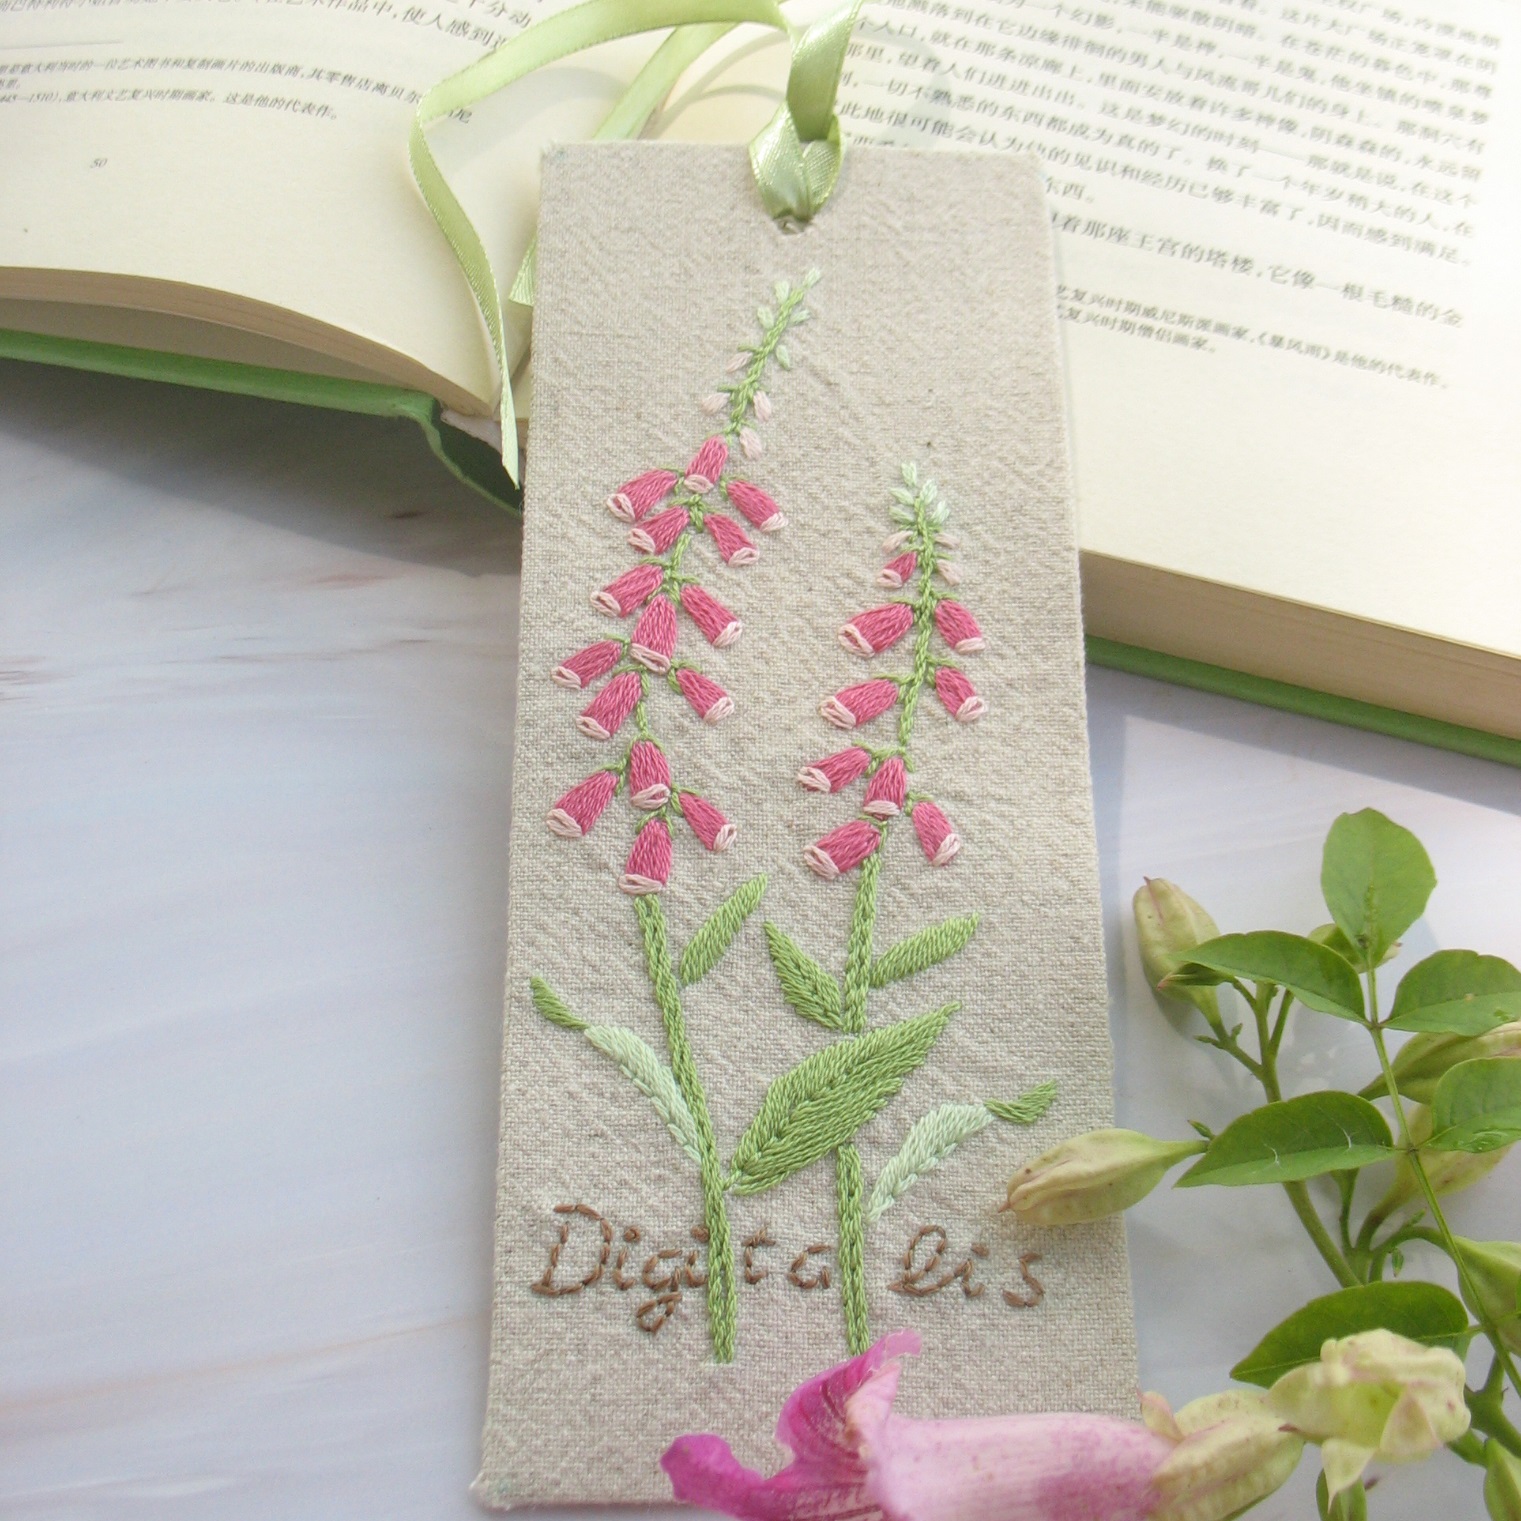
To make an embroidered bookmark, stitch a small design on fabric, fit a cardboard stiffener behind it, glue on a backing and add a ribbon tassel. The stitching is the long part; the finishing takes a few minutes. Our bookmark kits are built around exactly these steps.
What you need
The steps below follow the contents of our Wildflower Embroidery Bookmark Kit for Beginners, which includes:
- Pre-printed linen-cotton fabric with the design, plus backing fabric
- Cotton embroidery floss in the colors you need
- 2 embroidery needles
- 1 ribbon for the tassel
- 1 inner cardboard stiffener
- 1 small bottle of white glue
- A color picture tutorial showing the stitches
The supplier rates the kit beginner level and about 3 hours per bookmark. The finished bookmark is about 17 x 6.5 cm (6.7 x 2.6 in). If you are making your own from scratch, you will need the same things: fabric, floss, a needle, stiff card, backing fabric, glue and ribbon.
Step-by-step instructions
- Read the picture tutorial first. Look at the finished design and note which color goes where before you thread a needle.
- Hoop the fabric if you like. The kit lists a small 10 cm (4 in) hoop as optional, so it may not be in your pack. A 4-inch hoop such as our Beechwood Embroidery Hoop keeps a narrow piece taut, and our guide to using an embroidery hoop shows how to set it up.
- Separate and thread the floss. Embroidery floss has six strands; pull out the number the tutorial calls for and put them back together before threading. See our embroidery floss guide for how to do this without tangles.
- Stitch the design, starting with the largest areas. Work the stems and outlines, then fills, and leave tiny details such as knots for last.
- Finish each thread neatly on the back. Weave the tail under a few nearby stitches and trim it close so nothing shows through or gets caught in the glue.
- Take the fabric out of the hoop and check the front. Fix any missed spot now, because you cannot reach the stitching once the backing is on. Our how to embroider guide is a good refresher if a stitch looks off.
- Trim and prepare the fabric as your kit’s tutorial shows. Leave enough margin around the design to fold over the stiffener.
- Fit the cardboard stiffener behind the embroidery and attach the fabric to it with the white glue. Use a thin layer and keep glue away from the stitched area.
- Glue the embroidered piece to the backing fabric so the raw edges and back of your stitching are hidden.
- Attach the ribbon for the tassel at the top and let everything dry flat before you use the bookmark.
The order of the last three steps can differ between kits, so follow the tutorial in your pack for the exact sequence.
Tips for a neat finish
- Use glue sparingly. Too much can soak through the fabric and darken it.
- Keep the back of your embroidery flat. Long thread carries and big knots show up as bumps through a thin bookmark.
- Wash your hands before you glue and press. Oils and glue smudges show on light fabric.
- Press the piece under a heavy book while it dries so it stays flat.
Bookmark ideas and kits
A single small flower is a good first design because it uses only a few stitches. If you want to practice a stitch first, look at our embroidery stitches for beginners guide.
Not ready to stitch? The Floral Monogram Corner Bookmark is a finished, embroidered felt bookmark, not a kit. It hooks over the corner of the page, and you choose the letter. It is about 9.5 x 9.5 cm (3.7 x 3.7 in).
You can see every option in our embroidery bookmark kits collection. For more on timing, read how long does an embroidery kit take. And if you are stitching a hoop instead, see how to finish an embroidery hoop.
FAQ
How long does an embroidered bookmark take?
The supplier lists about 3 hours per bookmark for our Wildflower kit. Your time depends on how often you stitch and how fast you are with each stitch.
Can a beginner make an embroidered bookmark?
Yes. A bookmark is a small project with a short design, which makes it a good first finish. The Wildflower kit is rated beginner.
How do you keep an embroidered bookmark stiff?
A layer of cardboard between the embroidered fabric and the backing gives it structure. The Wildflower kit includes an inner cardboard stiffener for this.
What glue do you use?
The kit includes a small bottle of white glue. If you are making your own, use a white craft glue and apply it in a thin layer.